Weekly Hands-on How-To powered by KnowHow
How to Pack the Mitigation Response Vehicle

When responding to an emergency restoration situation, each decision and action taken can significantly alter the outcome for those affected by the disaster. In this high-stakes environment, the readiness of your emergency response vehicle becomes more than just a matter of logistical preparation; it's about embodying the promise of rapid relief and expert care in moments of crisis.
At KnowHow, we understand that the foundation of effective emergency response lies not just in the hands that perform the work but equally in the tools and resources at their disposal. This article, part of our weekly hands-on how-to series, powered by KnowHow, is here to bolster your team's knowledge and preparedness, ensuring that your emergency response vehicle is nothing short of a mobile command center equipped to tackle any challenge head-on.
Now, let’s explore how to ensure your emergency response vehicle is fully equipped and ready to meet any challenge that comes your way.
NOTE: This step-by-step how-to is based on this process from KnowHow’s expansive template library, available for all KnowHow users.
Step 1: Review Loss Information from the Office
Start your project by carefully reviewing the loss information provided by the office. This step is crucial as it helps you understand what you’re dealing with: the type of emergency, the extent of damage, and the specific areas affected. Knowing these details up front lets you plan your response effectively, ensuring you address the most critical aspects first.
Step 2: Confirm That All Essential Tools, Equipment, and Materials are Stocked
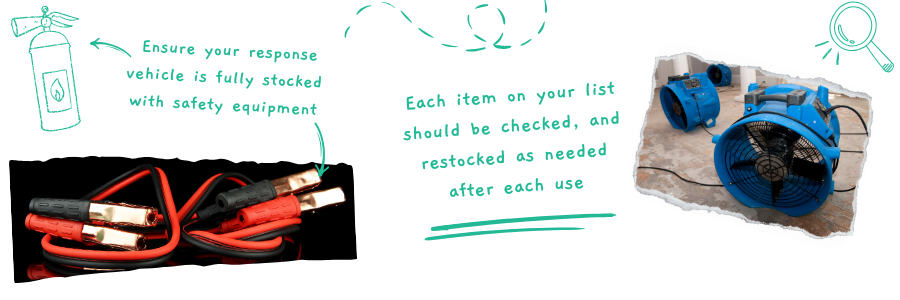
Before heading out to any job, ensuring that your response vehicle is fully stocked with all the necessary tools, equipment, and materials is vital. This preparation is key to a successful mitigation response, allowing you to tackle any challenge that comes your way efficiently.
Below is a comprehensive checklist of items that should be accounted for in your vehicle.
Note: This checklist serves as a starting point and should be customized based on the specific job requirements, business operating standards, and the particular materials and equipment your company uses. Regular updates and adjustments are essential to align with evolving practices and needs.
Looking for quick answers on restoration, remediation and cleaning topics?
Try Ask R&R, our new smart AI search tool.
Ask R&R →
Administration and Safety Equipment:
- First aid kit
- Fire extinguisher
- Roadside emergency kit
- Jumper cables
- Safety Data Sheets (SDS) book
- Haz-Com binder
- Job folders
- Extra forms
- GPS
- Hazard signs
- Wet floor sign
- Calculator
- Digital camera
- iPad or other technology
- Gas card
- Permanent marker
- Zip lock bags for samples
- Clipboards
- On-Call list
Extraction Wands and Hoses:
- Sewer wand
- Clean water wand
- High pressure hose
- Extraction hoses
- Water supply hose
Production Equipment:
- Water key
- 2 rolls of 6 mil trash bags
- Carpet grooming rake
- Foam blocks
- Clear furniture tabs
- Extension cords, adaptors, electric panels
- Empty 5 gallon bucket
- Fire retardant poly sheeting, furring strips
- Moving blankets, lay-flat rolls, carpet and floor mask
- Tapes, floor scraper with blades
- 6’ Ladder, portable lighting, moving disks, air sled
Restoration and Cleaning Solutions:
- Clean white towels
- Antimicrobial gallons
- Spray adhesive
- Empty trigger sprayer
Testing Equipment:
- Carpet sensor
- Thermal hygrometer
- Manometers
- Moisture meters
Equipment:
- Air scrubber, filters
- Wall drying setup
- Dehumidifiers, water collection barrel
- Air movers
- HEPA Vac, portable extraction units and hoses
Tools:
- Power and hand tools
- Demolition and clean-up tools
Ensure that each item on this list is checked and restocked as needed after each use. This proactive approach guarantees you're always ready to respond effectively to restoration needs.
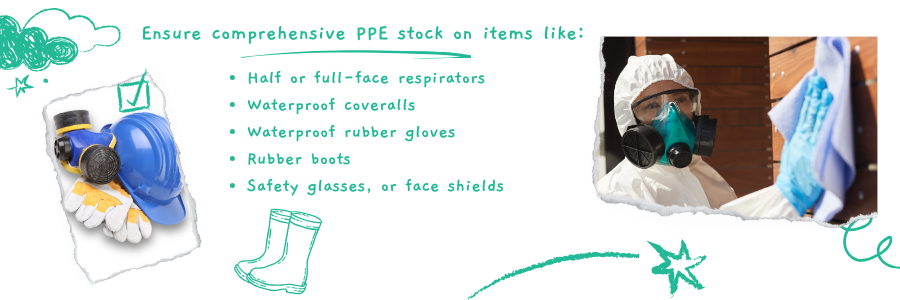
Step 3: Ensure Comprehensive PPE Stock on Your Response Vehicle
As you gear up for any mitigation project, prioritizing the safety of your team is paramount. Equipping your response vehicle with a complete set of Personal Protective Equipment (PPE) is essential for health, safety and efficiency in facing potential on-site hazards.
For detailed steps on how to properly wear (don) and remove (doff) these critical safety items, refer to our article "How To Don and Doff Full PPE."
Essential PPE Items for Mitigation Projects:
- Half or full-face respirators with organic cartridges
- Hand sanitizer
- Liquid-repellent
- Waterproof coveralls
- Waterproof rubber gloves
- Rubber boots
- Safety glasses, goggles, or face shields
- Booties
This step ensures you're not just ready for the task ahead but also highlights your dedication to maintaining the highest safety and compliance standards. A well-stocked and carefully checked PPE kit is the hallmark of a team that's fully prepared to meet any challenge with confidence.
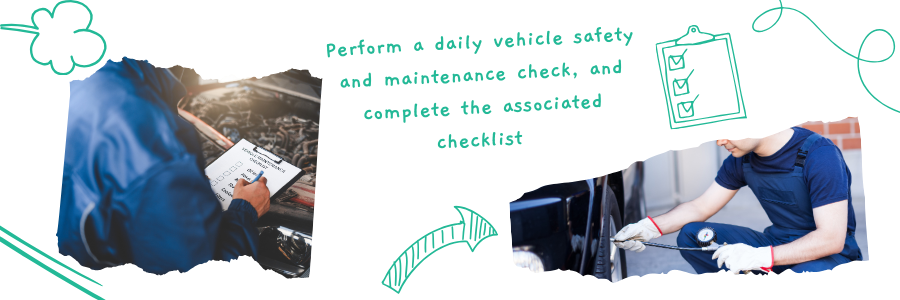
Step 4: Perform a Daily Vehicle Safety and Maintenance Check
The daily vehicle safety maintenance checklist is a vital routine that prepares you for a safe journey to and from job sites.
Vehicle Inspection Points:
Engine Oil Levels: Confirm they are within the recommended range to ensure the engine runs smoothly.
Coolant Levels: Check to prevent overheating and potential engine damage.
Fuel Gauge: Refill if it’s less than half a tank to avoid running out of fuel unexpectedly.
Lights: Ensure headlights, backup lights, parking lights, brake lights, directional lights, tail lights, and side lights are all functioning to maintain visibility and communication with other drivers.
Tires, Including Spare: Inspect for proper inflation and wear to avoid flats and maintain traction.
Mirrors: Check for clear visibility and adjust as necessary.
Windshield Wipers: Ensure they are in good condition for clear visibility during adverse weather conditions.
Following this checklist before departure safeguards you against potential vehicle-related delays or hazards. A vehicle in top condition is critical for maintaining schedules, ensuring safety, and upholding the professionalism and reliability of your service.
Step 5: Confirm Vehicle Readiness with Your Supervisor
Before departure, confirm with your supervisor that the response vehicle is appropriately stocked. This ensures you have all the necessary tools, equipment, and materials for the job, guaranteeing you’re ready for the task ahead with full preparedness and safety in mind. This brief check is crucial for a smooth and efficient operation.
Helping people in times of need is fundamental to every restoration company's mission, with the readiness of your emergency response vehicle and your team's knowledge and training critically influencing your ability to assist clients in their most crucial moments. At KnowHow, we value restoration professionals' diverse expertise and backgrounds and understand that this diversity, though a strength, highlights the need for a unified approach to training and resource management, which is particularly vital in high-pressure emergency restoration scenarios.
Our commitment at KnowHow goes beyond providing a checklist. We aim to be your team’s support system, offering on-the-job support, training tools, and insights that enhance not just the preparation of your response vehicle but every facet of your restoration work. From the frontline tasks of damage assessment and mitigation to the backend responsibilities of reporting and client communication, KnowHow equips your team for success with confidence and competence.
For a deeper dive into how KnowHow can support your team's continuous improvement and readiness, visit us at tryknowhow.com.
Looking for a reprint of this article?
From high-res PDFs to custom plaques, order your copy today!


