Weekly Hands-on How-To powered by KnowHow
How to Identify & Remove Ice Dams
Day-to-day operations in the restoration industry demand a lot of specialized knowledge – from understanding water loss categories to mold remediation processes and intricate IICRC guidelines. Often, this expertise is concentrated in the hands of too few seasoned professionals within an organization, making them linchpins central to the operation's success.
If you're one of these pivotal knowledge-bearers, you're all too familiar with the constant interruptions to your schedule. You're the go-to person for answering calls, coaching technicians, and ensuring smooth operations. At KnowHow, we've found that managers can spend up to 40% of their time handling these ‘firefighting’ duties that detract from growing the business.
Likewise, company owners know how risky it is to have industry knowledge trapped inside the heads of just a few key people on their team. This means your success hinges on a handful of people, and without them, standards drop, inconsistency rises, and customers start complaining. The first step to overcoming this challenge is to make clear, step-by-step guidance available to your whole team, and to that end, we are here to help.
In our new series, the Weekly Hands-on How-To, powered by KnowHow, R&R and KnowHow are teaming up to provide easy to follow step-by-step guides you can share with your team drawing from KnowHow’s enormous template process library.
These ‘hands-on how-to guides’ are designed to be a resource for your team – whether as a foundation to build your company's processes or as a direct tool for upskilling your staff. They can provide clarity and confidence to your team members, towards the goal of solving common problems independently, aligned with company standards.
To kick things off, today we're diving into the ‘How-to’ details of Ice Dam Identification and Removal Techniques. Drawing directly from this KnowHow Template Process, we will explain the most effective methods for elimination, and the 'secret weapons' for addressing these common challenges efficiently.
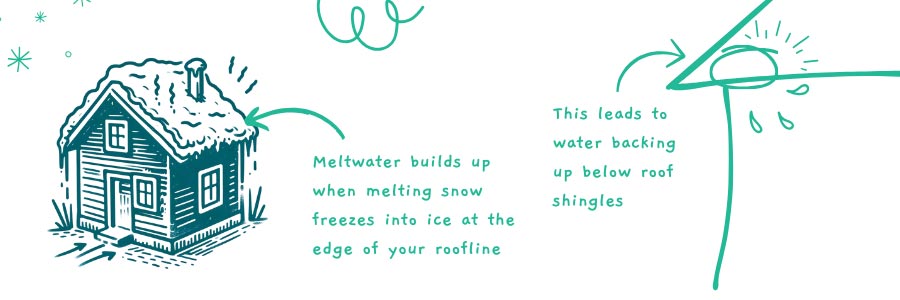
Step 1: Identify a Roof Ice Dam
Ice dams typically form at the edge of your roofline when water from melting snow re-freezes. If the snow on the roof isn't removed properly, the developing ice can grow significantly, large enough to obstruct the proper drainage of melting snow.
Looking for quick answers on restoration, remediation and cleaning topics?
Try Ask R&R, our new smart AI search tool.
Ask R&R →
This blockage can lead to water being unable to drain off the roof effectively. Consequently, the water may start to back up underneath the roof shingles, eventually finding its way into the home.
Step 2: Look for interior damage
When inspecting a property for the aftermath of an Ice Dam, it's important to thoroughly look for interior damage. Oftentimes, as the ice dam begins to melt, water finds a pathway up under the shingles and into the home.
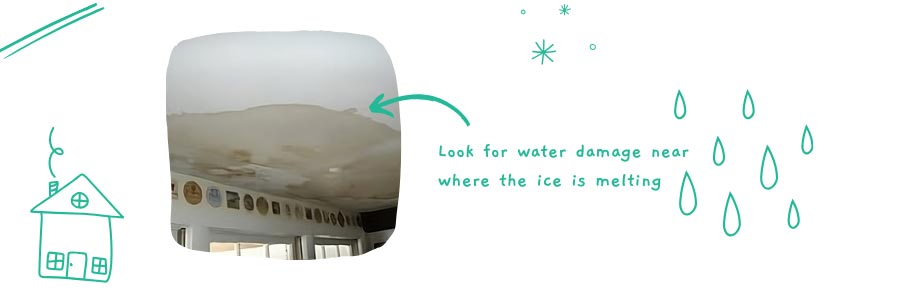
Spotting this kind of interior damage can be a clear indicator of the ice dam's impact. The presence of water intrusion typically confirms that the ice dam has allowed water to penetrate the home.
Step 3: Gather items needed to remove Ice Dams
In the process of removing Ice Dams, a few essential items will be particularly effective:
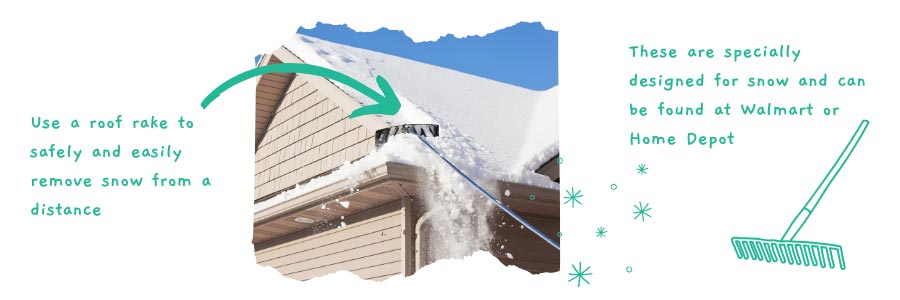
- Roof Rake: For safely removing snow from the edge of the roof.
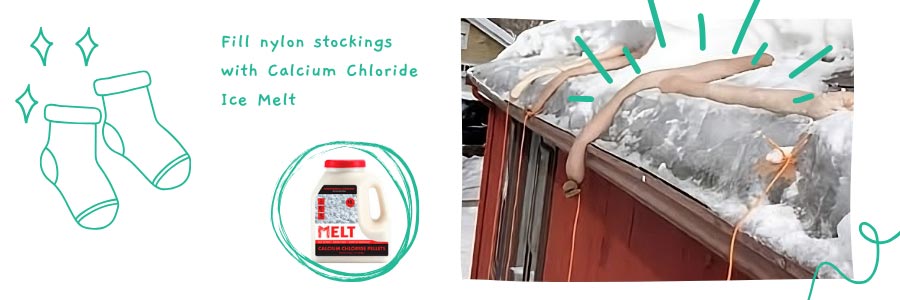
- Calcium Chloride Ice Melt: Recommended for its efficacy in melting ice without damaging the roof – it's important to note that Rock Salt or sodium chloride should be avoided as they can cause roof damage.
- Nylon Stockings: These are handy tools for distributing the ice melt evenly along the ice dam, and are used to hold the Calcium Chloride Ice Melt.
Step 4: Proceed to remove Ice Dams
Removing Ice Dams effectively involves a few steps.
First, use the roof rake to clear away 3-4 feet of snow from the edge of your roof. This initial step is crucial for accessing the ice dam itself.
Next, fill Nylon stockings with the calcium chloride ice melt. This specific choice of ice melt is essential for its effectiveness and safety for your roof materials.
Finally, place these filled stockings vertically (up and down) along the affected area. This placement is key as it creates channels for the melting ice to flow through, facilitating the removal of the ice dam and preventing further water buildup
Step 5: Start drying when the ice dam stops leaking
After successfully clearing the ice dam and ensuring that water has stopped entering the home, you can then move forward with the standard mitigation procedures. A vital part of this process involves inspecting for any hidden damage.
This inspection typically includes opening up areas of affected drywall, on either the roof or walls, to check for wet insulation behind them. Detecting and addressing this hidden moisture is essential to prevent further damage. Once you've completed these preliminary steps and the demolition is finished, you can begin the drying process to restore the affected areas to their pre-damaged state.
This guide is based on the KnowHow template “Identify and Remove Ice Dams”
Tackling the challenge of ice dams requires not just knowledge and skill but also an organized, systematic approach. By following the step-by-step process we’ve outlined, you can add a revenue-generating service to your company during the winter months, all while ensuring that the right approach is followed, leading to happy customers, healthy margins and staff getting home safely.
While some of these steps might feel second nature to your team, KnowHow’s research of over 400 workers in the restoration industry revealed that almost half of all new staff in the industry have never worked in general construction before. That’s why it’s critical that whether you’re addressing ice dams or getting up to speed with essential software like Xactimate, Encircle, Dash, and more, your team has a single source of truth for how to do their job competently and confidently.
Stay tuned to our weekly series for more insights and expert guidance so you’re always equipped with the KnowHow to get the job done right.
Looking for a reprint of this article?
From high-res PDFs to custom plaques, order your copy today!


