Weekly Hands-on How-To powered by KnowHow
How to Dry Hardwood Floors in Water Mitigation
Master the Art of Drying Hardwood Floors, without Guesswork

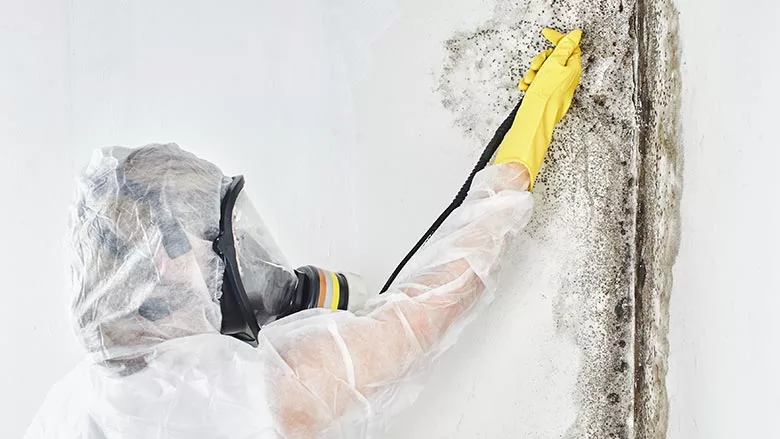
Image provided by KnowHow.
When water hits the hardwood floor, time is not on your side. What starts as surface-level moisture can quickly lead to warping, cupping, and long-term structural damage if not handled correctly. And for restoration technicians, knowing how to dry it—and when not to—can make or break a job.
This guide, powered by KnowHow, walks you through every critical step of the hardwood drying process, from identifying the flooring type to deploying the right equipment and setting proper expectations with property owners. With standards grounded in the IICRC S500, this training gives new techs the clarity they need to avoid costly mistakes and deliver results that last.
Let’s break it down, board by board.
1. Understand What Floors Can (and Can’t) Be Dried
Before setting up a single piece of equipment, you need to know what you’re working with. Not every floor can—or should—be saved. Drying the wrong type of material wastes time, fails to meet industry standards, and can lead to costly call-backs.
Do NOT attempt to dry:
-
Engineered wood floors: They may look like hardwood, but they’re not sandable or refinishable. Even if dried, damage is permanent.
-
Laminate flooring: These are not water-resistant. Even a little moisture will cause warping, brittleness, and delamination.
- Hardwood installed over concrete: Concrete slabs trap moisture below the surface, which can lead to hidden, ongoing damage.
Do dry:
-
¾" solid hardwood nailed to an OSB or plywood subfloor. These floors can be dried effectively using proper technique and equipment, and they can usually be sanded and refinished after the job.
2. Confirm the Flooring Type
Visually inspecting isn’t enough. Confirm you’re dealing with solid hardwood installed over wood subfloor—not engineered wood, laminate, or hardwood over concrete. The success of your drying process depends on this first step.
3. Remove Excess Water
Once the floor type is confirmed, your next priority is to remove as much water as possible before beginning the drying phase.
-
Use floor extraction mats to target and extract moisture trapped beneath the hardwood planks.
- Connect hoses to your truckmount or portable extractor.
-
Ensure a tight seal between mat and floor using gaskets or tape.
- Run extraction intervals for 15–30 minutes depending on severity.
This initial step is crucial. The more water you remove now, the faster and more effective your drying process will be.
4. Set Up Your Drying Equipment
Now that surface moisture is gone, it's time to dry deep into the structure. Effective drying setups include:
-
Dehumidifiers (LGR or Desiccant): Pull moisture from the air to reduce relative humidity.
-
Air movers: Aim airflow across the floor at a slight downward angle to maximize evaporation.
- Floor drying systems (like Rescue Mats or Injectidry): These systems apply negative pressure through mats placed on the floor, pulling moisture up and out from between planks and below the surface.
Use a power distribution box to safely connect equipment in areas without built-in outlets.
5. Monitor Drying Daily
Don’t guess—measure. Use pin-type or non-invasive moisture meters to track the drying process:
- Compare wet areas to unaffected flooring.
- Log readings and adjust your strategy if levels plateau.
- Stay consistent—check moisture content every 24 hours at minimum.
This documentation isn’t just best practice—it’s essential for adjusters and ensures the job meets drying standards.
6. Know the Dry Standard
Just because the surface feels dry doesn’t mean the job’s done. For hardwood, the target is typically 6–9% moisture content, though this can vary based on region and climate. Your goal is to match the moisture levels of unaffected wood in the same structure.
7. Refinish After Drying
Drying stops damage—but it doesn’t fix cosmetic issues. Even when the wood looks good, the finish might show dullness, cracking, or feathering.
Pro tip: Always assume refinishing will be required unless a post-dry inspection proves otherwise. Set the expectation early with homeowners and adjusters.
8. Tips for New Technicians
There’s a learning curve when it comes to drying hardwood. Here are a few key takeaways:
- Don’t judge dryness by sight alone—measure moisture levels.
-
Refinishing is almost always necessary. Don’t promise otherwise.
-
Use the right tools—no drying mats = moisture left behind.
- Document everything—from start to finish, your log is your proof.
Don’t Just Dry It—Do It Right
From recognizing what can (and can’t) be salvaged, to knowing how to use the right equipment at the right time, this process demands precision, experience, and crystal-clear communication with property owners. And that’s where KnowHow comes in.
Whether it’s verifying moisture levels, explaining why a floor still needs refinishing, or following step-by-step instructions for drying mats and dehumidifiers, KnowHow gives your team instant access to company-specific SOPs and expert guidance—right from the jobsite. No guesswork. No forgotten steps. Just confident, consistent execution.
Want to make the job easier for your team? Download this free Hardwood Floor Drying template or book a demo with us to see how KnowHow helps restoration teams get it right—every time.Looking for a reprint of this article?
From high-res PDFs to custom plaques, order your copy today!

