Weekly Hands-on How-To powered by KnowHow
How to Determine When to Remove Drywall in a Restoration Setting
This Week’s Hands-On Segment Focuses on the decision whether or not to remove drywall in a restoration & remediation project
.webp?t=1712776413)
All images courtesy of KnowHow
Thanks to water leaks and floods, you might find your client's home looking more like an indoor pool than an actual residence. This is bad news for the walls, particularly the drywall. Drywall, for all its practicality, easily soaks up water, becomes a breeding ground for mold, and quickly loses its structural integrity. But not every water loss warrants a full drywall tear-down.
Overreacting to water damage can lead to unnecessary repairs and escalate a minor leak into a major renovation headache for your clients. There’s a tricky balance to strike, especially when stress levels are high and clear answers feel submerged in murky water.
This weekly how-to, powered by KnowHow, aims to give your teams the knowledge to determine the best course of action to mitigate and remediate drywall damages. Whether you're a novice or a seasoned pro facing the aftermath of a water disaster, this article will equip you to make informed calls on the job site.
Note: This Weekly Hands-On How-To was based on this template in KnowHow’s template library.
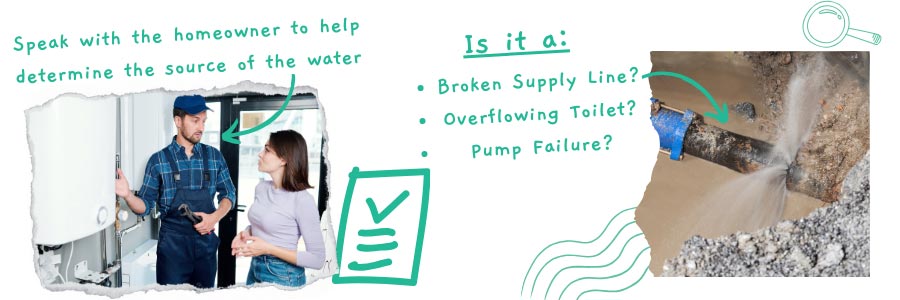
Step 1: Determine the Source of the Water
The journey begins with detective work. By understanding the origin of water damage, you can better assess the risk it has to drywall. Whether it's an overflowing toilet or a broken water supply line, each scenario presents different considerations for drywall removal. Make sure you’re confident that you understand the source of the water before proceeding.

Step 2: Gauge the Exposure Duration
Time is of the essence. The length of time drywall has been exposed to water significantly affects the urgency and extent of removal needed. Typically, the damage is only a day or two in progress. But sometimes, it may have been going on for several days, weeks, or even months.
Short-term water damage - Often happens overnight or while no one is home.
Long-term water damage - Typically happens during weekend vacations or longer-term getaways. Other scenarios include a vacant home being sold or a seasonal owner.
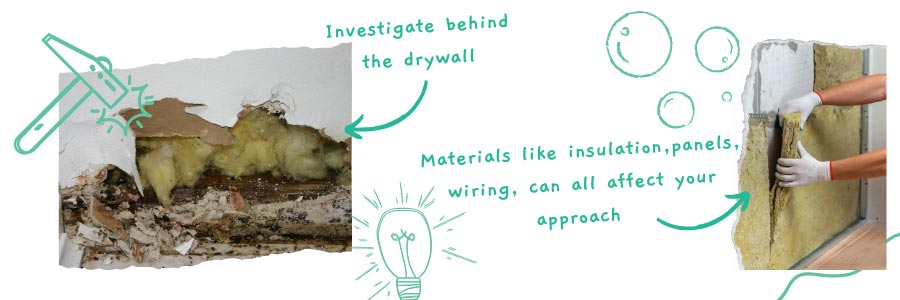
Step 3: Investigate Materials Behind Drywall
The presence of additional materials behind drywall, like insulation or paneling, can influence your remediation strategy. Start by searching for hidden layers or materials behind the drywall, and consider how these materials will impact the drying and removal process. For example, if insulation is soaked in water, it will continue to leak into the drywall.

Step 4: Inspect Behind Base Trim
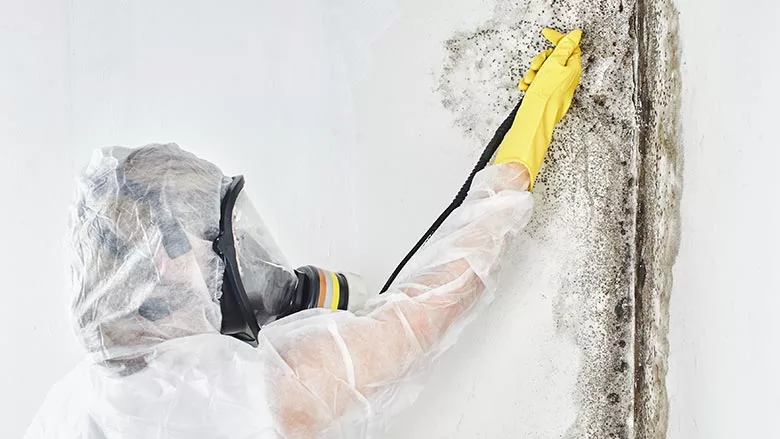
Inspecting behind baseboard trim commonly uncovers hidden damage or mold, which is a key factor in deciding whether to remove drywall. It's important to cautiously remove the base trim to avoid unnecessary damage while searching for signs of previous water damage or unseen leaks.
Step 5: Confirm Removal Necessity
After gathering all of the information, it’s time to make a decision. Certain conditions clearly dictate the need for drywall removal to prevent further damage and ensure a thorough restoration.
Remove drywall if:
- It's against another wet layer like insulation or baseboards.
- Water exposure exceeds 48 hours.
- Cases of CAT 2 or CAT 3 loss.
Step 6: Discuss with Homeowner Before Proceeding
Transparency builds trust, and before taking action, discussing the scope of work with the homeowner ensures they understand the reasons for or against drywall removal and the steps that will be taken.

So, How do You Remember All of These Steps?
Each of these steps, while distinct, underscores a universal truth in the realm of water damage restoration. With the sheer volume of processes and the detailed nature of every task, it's all too easy for both new technicians and seasoned managers to lose their way. But with KnowHow, you can centralize your SOPS, train your staff, and provide the instant answers your teams need in the field.
By equipping workers with expert guidance in their preferred language based on the very best practices of their company, KnowHow ensures that every step taken is a step forward. Learn more at tryknowhow.com.
Looking for a reprint of this article?
From high-res PDFs to custom plaques, order your copy today!


