Weekly Hands-on How-To powered by KnowHow
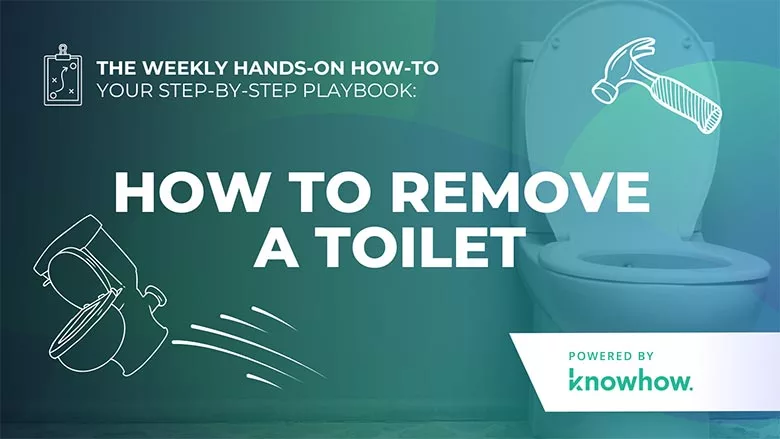
How to Remove a Toilet
Detaching a toilet might not be the most glamorous task, but it’s an essential part of many restoration and renovation projects. Done correctly, it can save time and prevent damage. But skipping any step in the process can lead to messy and unpleasant surprises—let's just say nobody wants to deal with those.
In this how-to guide, powered by KnowHow, we’ll walk you through the best practices for safely and efficiently detaching a toilet. From shutting off the water supply to storing the toilet properly, these steps will ensure a smooth and successful operation. So it's important to get it right every time.
Let’s flush any uncertainty and make sure your next toilet detachment goes down smoothly.
Note: This Weekly Hands-On How-To was based on this template in KnowHow’s template library.
Best Practices for Detaching a Toilet
Detaching a toilet might seem straightforward, but it involves several steps to ensure it’s done safely and without causing damage. Follow these best practices to detach a toilet efficiently and effectively.
Step 1: Shut Off the Water to the Toilet
Start by turning the shut-off valve for the water supply line counterclockwise to stop the water flow. If the valve is tough to turn, a plumbing wrench can help.
If the valve won’t budge:
- Place a hot towel over the valve to heat it up and loosen it.
- Spray some WD-40 on it to ease the turning.
- If these methods fail, call a licensed plumber to replace the valve.

Step 2: Empty the Tank
Flush the toilet and hold the handle down to remove as much water as possible. Even after flushing, there might still be water in the tank and bowl. Here's what to do:
Looking for quick answers on restoration, remediation and cleaning topics?
Try Ask R&R, our new smart AI search tool.
Ask R&R →
- Use a sponge or a small container to bail out the remaining water from the tank.
- For the bowl, use a plunger to force as much water down the drain as possible.
- A wet/dry vacuum can be particularly effective at removing any leftover water in the tank and bowl, ensuring minimal spillage when the toilet is lifted.
Step 3: Detach the Supply Line
Next, you’ll need to disconnect the supply line from the toilet. Place a bucket or small pan underneath the connection to catch any residual water. Using a pair of channel locks or an adjustable wrench, loosen the nut connecting the supply line to the fill valve by turning it counterclockwise. Carefully remove the supply line and allow any remaining water to drain into the bucket.
Step 4: Remove the Nuts Holding the Toilet Down
Remove the decorative caps covering the nuts that secure the toilet to the floor. Use an adjustable socket wrench to turn the nuts counterclockwise. If the nuts are rusted or corroded and won’t come off easily, apply a generous amount of WD-40 and let it sit for a few minutes before trying again.
Step 5: What to Do If the Nuts Won’t Come Off
If the nuts are stuck:
- Spray WD-40 on the nuts and let it sit for a few minutes.
- Attach the socket wrench to the nut.
- Hold the top of the bolt with a pair of locking pliers and attempt to turn the nut loose.
If the nut still doesn’t come off, it will need to be cut using a hacksaw. Hold the hacksaw blade with leather gloves, place it under the nut on top of the washer, and patiently saw through the nut.

Step 6: Remove the Toilet
Once the bolts are off, it’s time to lift the toilet. Stand over the toilet, straddling it, and grip it firmly under the rim of the bowl. Lift the toilet straight up with your legs, not your back, to avoid injury. Keep the toilet level to prevent any remaining water in the trap from spilling out. Have a clear, pre-prepared area nearby to place the toilet. Lay down protective materials like cardboard or plastic sheeting to protect the floor.
Step 7: Store the Toilet
Finally, ask the homeowner if there is space in the garage to store the toilet. If storing it in the tub or shower, ensure these areas are well-protected to avoid damage. Take before and after photos of the tub or shower to document any existing damages.
A Job Well Done
Now that you know how to efficiently detach a toilet, you've conquered one of the many smaller tasks that make up the bigger picture in restoration work. Property restoration is full of smaller tasks like these, and mastering each will add up to a lot of hours saved and confidence gained.
However, each task in the restoration process has its own set of challenges and best practices. Remembering every detail can be overwhelming, but that's where KnowHow shines. With KnowHow, you equip your teams with instant on-the-job guidance based on your SOPs, right in the palm of their hands, no matter where they are.
Streamline your workflow and elevate your crew’s expertise with KnowHow. Visit tryknowhow.com to discover how it can transform your approach to every task, big or small.
Looking for a reprint of this article?
From high-res PDFs to custom plaques, order your copy today!


.webp?height=200&t=1712776413&width=200 "Weekly Hands-On How-To: How to Determine When to Remove Drywall")


