Weekly Hands-on How-To powered by KnowHow
How to Clean, Maintain, and Troubleshoot Air Scrubbers
Keep your air scrubbers running efficiently with this step-by-step maintenance and troubleshooting guide

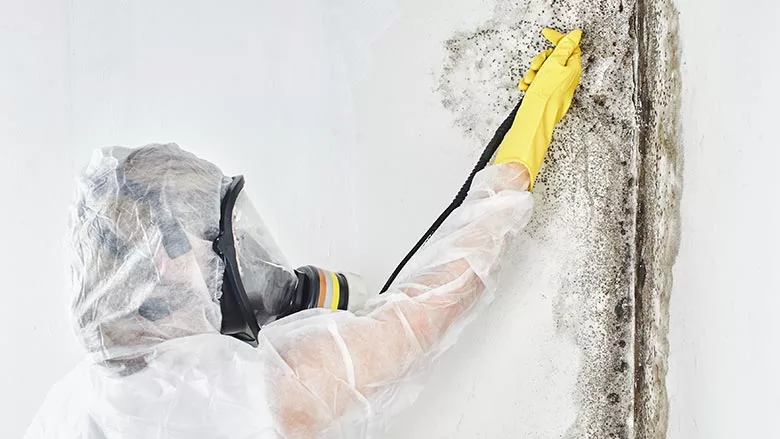
Image provided by KnowHow.
Air scrubbers are one of the most critical tools on a restoration job site— working in the background to remove dust, mold, smoke particles, and harmful VOCs from the air. But when they’re neglected, their performance tanks fast. Dirty filters and clogged components don’t just slow the job down—they can become a major liability.
This How-To, powered by KnowHow, walks your team through the full breakdown and maintenance process for air scrubbers, ensuring they run efficiently, safely, and reliably. Whether you're mid-project or prepping for your next call-out, this guide helps you extend the life of your equipment and keep indoor air quality high, every time.
1. Understand Why Air Scrubber Maintenance Matters
Air scrubbers are essential, but their effectiveness drops fast without proper upkeep. Routine maintenance helps prevent breakdowns, keeps air quality high, and extends the life of your equipment. In high-stakes environments—like post-fire cleanups or mold remediation jobs—clean, functional air scrubbers aren’t just helpful, they’re critical to worker safety and project success.
2. Know What’s Inside an Air Scrubber
An air scrubber pulls in contaminated air, scrubs it through layers of filtration, and releases clean air back into the environment. Understanding how each part works helps you clean and maintain it properly.
Here are the key components:
- Pre-filter – Captures large debris and particles.
- HEPA filter – Removes smaller contaminants like mold spores, bacteria, and smoke.
- Activated carbon filter – Targets odors, gases, and VOCs.
- Fan and motor – Drives airflow through the unit.
- Housing – The exterior that protects internal components.
Each component plays a role in ensuring the air scrubber performs at peak efficiency.
3. Watch for Common Issues
If you’ve got an underperforming air scrubber, chances are it’s due to one of these problems:
-
Clogged filters: Pre-filters and HEPA filters can quickly fill with debris, reducing airflow and filtering capacity.
-
Fan or motor failure: Overheating or poor airflow can stress the motor, especially when filters aren’t changed regularly.
- Power issues: Damaged cords or loose connections may cause the unit to shut off unexpectedly.
If you’ve identified one of these issues—or you’re simply performing routine upkeep—now it’s time to break down the unit and get to work.
The following steps walk you through a safe, thorough cleaning and maintenance process that helps extend the lifespan of your air scrubber and keep it running at peak performance.
4. Turn Off and Unplug the Unit
Safety first. Always power down and unplug the unit before beginning any maintenance. This step helps prevent electric shock and accidental damage to internal components while you're cleaning or inspecting.
5. Gather Your Cleaning Tools
Having everything on hand before you start makes the process smoother. Here’s what you’ll need:
- Screwdriver or wrench (depending on your unit’s design)
- Soft cloth
- Mild cleaning solution
- Vacuum with soft brush attachment
- Replacement filters (if needed)
If the unit has been in a mold-contaminated area, you may also need disinfectant.
6. Remove the Access Panels
Using your screwdriver or wrench, carefully take off the unit’s access panels. Be sure to set screws and small parts aside in a safe spot—you’ll need them for reassembly.
Some air scrubbers also use clamps or quick-release clips for easier access. Check your unit’s design before proceeding.
7. Clean Internal Components Thoroughly
Once you’re inside the machine, it’s time to clean. Wipe all interior surfaces with a soft cloth and mild cleaner to remove dust, dirt, and buildup.
Step-by-step:
-
Clean the exterior: Wipe down with a damp cloth. Use a vacuum to remove dust around vents or grilles.
-
Clean or replace filters: Pre-filters can usually be washed or vacuumed. HEPA and carbon filters often need replacing—check your manufacturer’s guidelines.
-
Inspect and wipe fan blades: Dusty fan blades reduce airflow. Wipe clean for optimal performance.
-
Disinfect when necessary: In mold or sewage jobs, sanitize internal components to prevent spore spread or odor retention.
8. Practice Smart Maintenance Habits
Don’t wait until the machine breaks down. Make these habits part of your routine:
- Inspect daily during active use
- Log filter changes and note the date
- Follow manufacturer specs for filter lifespan and replacement
- Document everything for job records and warranty protection
These practices don’t just prevent problems—they also protect your reputation.
9. Reassemble and Test
Once everything is clean and dry, reassemble the unit by securing the access panels and replacing any parts removed during the cleaning process.
Double-check:
- Filters are seated properly
- Screws or clips are secure
- Nothing is rattling or loose
Then plug the unit back in and turn it on to confirm proper operation.
Keeping Air Scrubbers Running Strong
A clean air scrubber is a frontline defense on every restoration job. From containing mold spores to clearing out demolition dust, these machines only work if they’re maintained with care. Regular cleaning, timely filter changes, and proper storage aren’t just good habits—they’re what keep your equipment performing reliably day in and day out.
Need help keeping your team consistent on maintenance protocols? Download KnowHow’s free Air Scrubber Maintenance template for step-by-step instructions your crew can follow in the field. Or book a demo to see how KnowHow can help standardize training, on-the-job support, and SOPs across your entire organization.Looking for a reprint of this article?
From high-res PDFs to custom plaques, order your copy today!


