Weekly Hands-on How-To powered by KnowHow
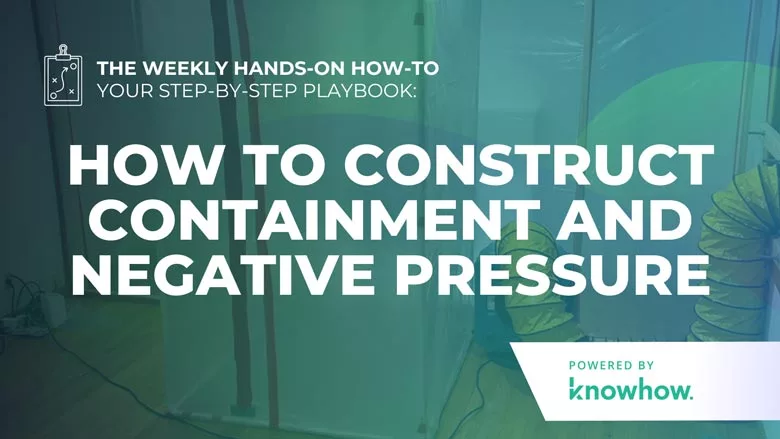
How To Construct Containment and Negative Pressure
Mastering Containment and Negative Pressure for Safe Restoration

All images provided by KnowHow.
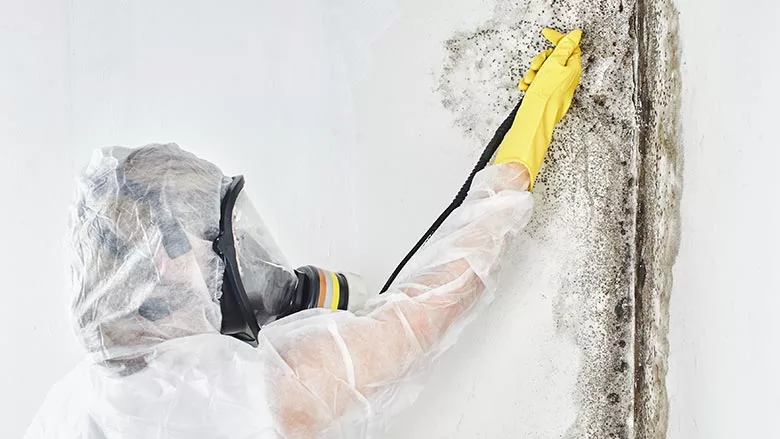
Containment is the cornerstone of a safe and effective restoration process, especially when dealing with water, mold, or hazardous materials. Proper containment not only protects the unaffected areas of a property but also creates a controlled environment for efficient drying, cleaning, or repair work.
When containment is done right, it keeps airborne particles and contaminants locked in, protecting HVAC systems, unaffected spaces, and everyone involved in the restoration. But achieving effective containment isn’t as simple as hanging plastic sheets—it requires strategy, precision, and attention to detail.
In this weekly how-to, powered by KnowHow, we’ll walk you through the essential steps to construct a containment area with negative pressure. From setting up barriers to maintaining proper airflow and pressure, this guide ensures you’ll create a secure and professional containment zone every time.

Step 1: Construct a Barrier for the Containment
Begin by building a physical barrier to isolate the containment zone. Use durable plastic sheeting to enclose the area, and ensure all edges are firmly secured to walls, ceilings, and floors with tape or fasteners to eliminate air leaks.
When constructing the barrier, remember:
- Seal Every Edge: Any gap can compromise the containment.
- Use Quality Materials: Heavy-duty plastic sheeting resists tears and ensures durability throughout the job.
This barrier is your first line of defense against contamination, so take the time to ensure it’s sealed completely. If you need detailed guidance, refer to the linked “How to Set Up Containment” process.
Step 2: Seal Off HVAC Vents
Containment is only effective if the airflow remains controlled. Locate all HVAC vents in the containment zone and seal them to prevent air exchange with the rest of the building.
Here’s how to secure the vents:
- Cover Completely: Use preservation tape to seal the vent entirely, ensuring no gaps remain.
- Double-Check the Seal: After taping, confirm that the tape adheres firmly to all surfaces.
By properly sealing vents, you’re not only confining contaminants but also protecting the HVAC system from exposure.
Step 3: Set Up the Air Filtration Device Inside the Containment
With the containment area enclosed, it’s time to ensure the air inside stays clean. Place an air filtration device strategically within the containment to optimize circulation and filtration.
When setting up the filtration device:
- Position Strategically: Choose a central location to maximize airflow.
- Check Functionality: Ensure the device is operational before proceeding.
- Use Certified Filters: HEPA filters are essential for capturing fine particles and contaminants.
A properly functioning air filtration device will help maintain a clean, controlled environment while preventing the spread of airborne particles.
Step 4: Configure the Air Filtration System Outtake
Direct the contaminated air out of the containment zone using an air filtration system connected to an outtake point. This step ensures that any harmful particles are filtered and safely vented.
To set up the outtake system:
- Securely connect the filtration system to the designated outtake area.
- Position the outtake to channel air to a safe location.
- Use HEPA filtration or PAS (Portable Air Scrubber) to ensure outgoing air is thoroughly cleaned.
For effective containment, aim for at least four complete air cycles per hour or follow local guidelines to determine the required air exchange rate.
Step 5: Control Pressure Inside the Containment
Maintaining negative pressure is crucial to ensuring contaminants stay within the containment zone. Negative pressure means the air pressure inside the containment is lower than the surrounding areas, so air flows inward through any gaps rather than outward.
To maintain negative pressure:
- Monitor Regularly: Use pressure gauges to verify the containment remains under negative pressure.
- Follow Guidelines: Adhere to local or regional regulations for pressure requirements.
By keeping the containment area under consistent negative pressure, you’re ensuring a safe workspace and safeguarding the rest of the property.
Bring Confidence to Every Containment with KnowHow
Constructing a containment zone with negative pressure requires precision at every step. From sealing barriers to maintaining airflow, the process is critical to protecting people, property, and the environment. But let’s be honest—restoration is fast-paced, and even seasoned professionals can struggle to remember every detail in the moment.
That’s where KnowHow steps in. With instant access to step-by-step guidance, real-time training tools, and expert support, KnowHow ensures your team has the answers they need, right when they need them. Whether it’s double-checking containment protocols or troubleshooting on-site, KnowHow keeps your crew confident and focused.
Ready to make every job smoother and more efficient? Book a demo today and see how KnowHow can empower your team to handle every project like pros.
Looking for a reprint of this article?
From high-res PDFs to custom plaques, order your copy today!


