Contractors ask us all the time, “how often should I clean these machines, what needs to be done for maintenance, and how long do the optics last?” The good news is the process is quite simple and easy. Here are our answers to those common questions.
We recommend cleaning the machines after each job. This helps to ensure that the machines are always performing at their best, they look clean and professional, and it prevents any cross-contamination from the previous project. It shouldn’t take you more than a few minutes to clean each machine, and it is well worth the time. Here are the instructions:
- Turn off the power supply and unplug the cord. Unlock both side cover plates with the provided key.
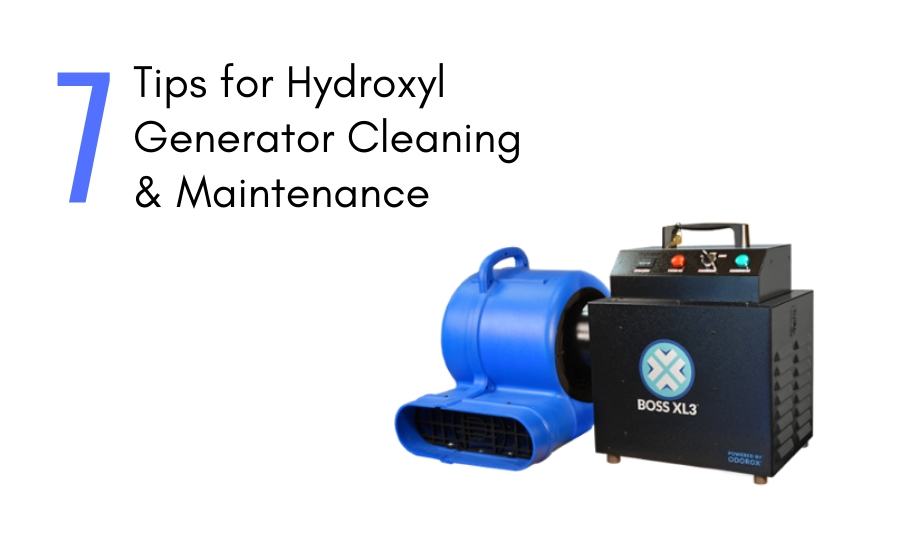
- Remove the side panel and louvered grill plates from each side of the machine. The XL3 (3 optic machine which uses the supplemental fan) has an additional panel on the outtake side which is secured with one screw – it should be removed as well.
- Remove the UV optics inside the machines. With a firm grip on the upper ceramic end piece of the optic, use your other hand to grip the ceramic wiring harness connector. Now ‘wiggle’ and gently pull the ceramic harness connector end from the ceramic optic end. Once the UV optics are unplugged from the wiring harnesses, use both hands to remove the optics from each optic chamber retention.
- Clean the UV optics and wipe down each optic chamber using a solution of 1-part isopropyl alcohol and 10-parts filtered/distilled water. Use a clean, lint-free cloth and latex gloves to avoid fingerprints and smudges. Fingerprints and smudges will diminish the performance of the optics.
- Using the same water/alcohol solution and cloths, wipe down the inside chamber of the machine, as well as the outside of the machine to remove any dirt or other particles.
- Again using both hands and wearing gloves, gently clamp the optics back in the optic chamber retentions. Reassemble the connection of the ceramic wiring harness (female) to the ceramic optic end (male) with a gentle wiggle action.
- Put the side panels back on the machines, and be sure the clear XL3 vacuum tube on the outtake side goes through the hole in the panel and is not pinched. Plug in the machine’s power cord and test it before deploying it on the next job. Using UV rated eye protection, ensure all of the optics are working before locking the side panels.
When it comes to maintenance, there is one more task to remember. The UV optics inside the machines should be replaced after being used for 4,000 hours. To be clear, they will stay lit for 8,000 hours or more. However, like all UV lights, they will gradually lose their power over time. In the disaster restoration industry where you’re dealing with moderate to severe odors, and time is critical, 4,000 hours is the best time to replace them to guarantee optimal performance - do not wait for the optics to burn out. Once the UV optics are replaced with new ones, your machine is like new all over again.
Have more questions on maintaining your machine? Click here or email Tom McArdle at tmcardle@odoroxhg.com.
Recent Comments
article review`
Agility
Information
Thanks for sharing this with us here....
Great Post. Thanks for sharing with us a...